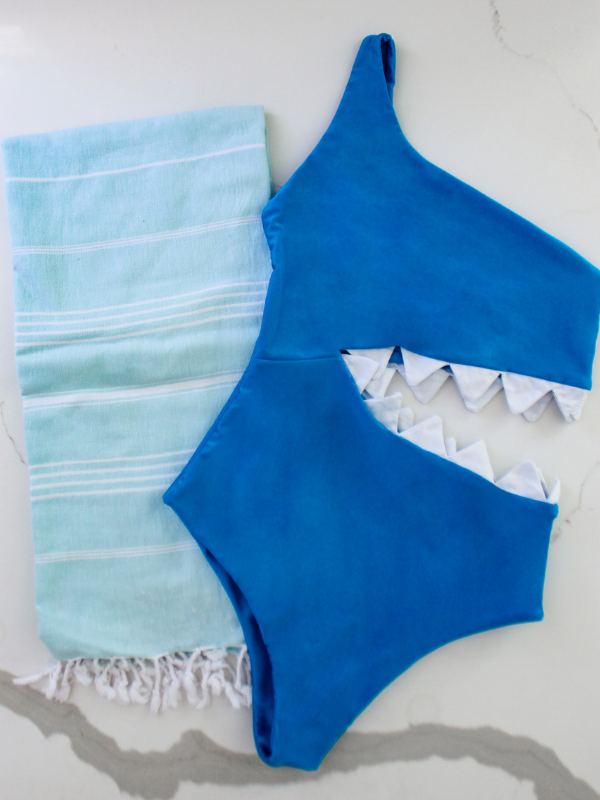
With Halloween right around the corner, it's a great time to get creative! In this tutorial, I'll be showing you how I made this "Shark Bite" one piece swimsuit.
Materials
- Marley One Piece PDF Pattern
- 1 yard swimwear fabric
- 1/4" rubber swimwear elastic
- Spandex fabric of your choice for "teeth", a piece approximately 10" x 35" will be more than enough
- Ruler
- Scissors
- Fabric marker
- Sewing machine with a straight stitch
When I made this piece, I used cotton fabric for the teeth in an attempt to make the teeth more rigid. While this worked, it unfortunately meant there wasn't any stretch! Rookie mistake right there....
Ultimately I think it's best to use spandex for the teeth. Then it will be water-friendly too!
If you have any ideas on how to keep the spandex teeth rigid/keep the shape, drop a suggestion and I'll share your recommendations!
Step 1
Get your supplies together! Here you can see I'm using cotton- big mistake! Use spandex, don't make my same mistakes!!
Step 2
Draw two straight lines, 1.5" apart toward the bottom of the fabric piece. If you want bigger or smaller teeth, adjust the 1.5" measurement.
Step 3
For both the top and the bottom lines, mark a notch every 2 inches. Make sure the notches on the top and bottom lines are staggered.
Step 4
Use your ruler to connect each notch, making triangles all along the length of your fabric.
Step 5
The reason we drew toward the bottom is because during this step we're now going to fold the fabric in half!
Fold it in half along the bottom line of the triangles we drew.
Step 6
Using a straight stitch, sew along the triangles we drew. Leave the top and bottom lines unsewn.
Step 7
Using your scissors, snip the excess fabric as close to the seam as you can. I'm trimming the FOLDED edge, not the open one!
Step 8
Once you've trimmed, turn each tooth out to the right side! This will create a "tape" of teeth which will be sewn in to the Marley!
Step 10
Start with either the front piece or the back piece. In this image, I've started with the front. With the front piece inside out, place your teeth tape facing INWARD. I recommend trimming the trap into two sections around where it curves sharply.
Step 11
Once you're happy with how you've arranged and trimmed the tape, stick the tape inside the two layers of fabric, then pin down to secure.
You might also want to consider trimming the tape so you can sew in each individual tooth. I think this could help with the teeth maintaining shape even when worn....
Step 12
Sew the teeth into the suit! I used a straight stitch as a basting stitch to make sure I liked how it turned out sewing.
Finish off the seam with an overlock stitch, because the middle seam will need to be capable of stretching!
Step 13
Use your remaining teeth tape to complete the back piece too!
Step 14
Turn the front and back piece to the right side, and your teeth should be in place!
Now, finish the Marley One Piece as you normally would. There are no other modifications to the directions!
Thank you for reading this tutorial! If you enjoyed this modification and you'd like to see some more written tutorials on how to modify existing patterns, drop a comment or send us an email at hello@edgewaterave.com we'd love to hear from you!